Teljes mértékben testreszabhatod a Sensei e-mail értesítéseit. Nem csak az e-mailek tartalmát, hanem saját logót és márkajelzést is hozzáadhatsz. Ezenkívül gondoskodtunk arról, hogy az e-mailek mobilra optimalizáltak legyenek, így a tanulók bármilyen eszközön könnyen elérhetik őket.
Sensei Emails Configuration and Settings
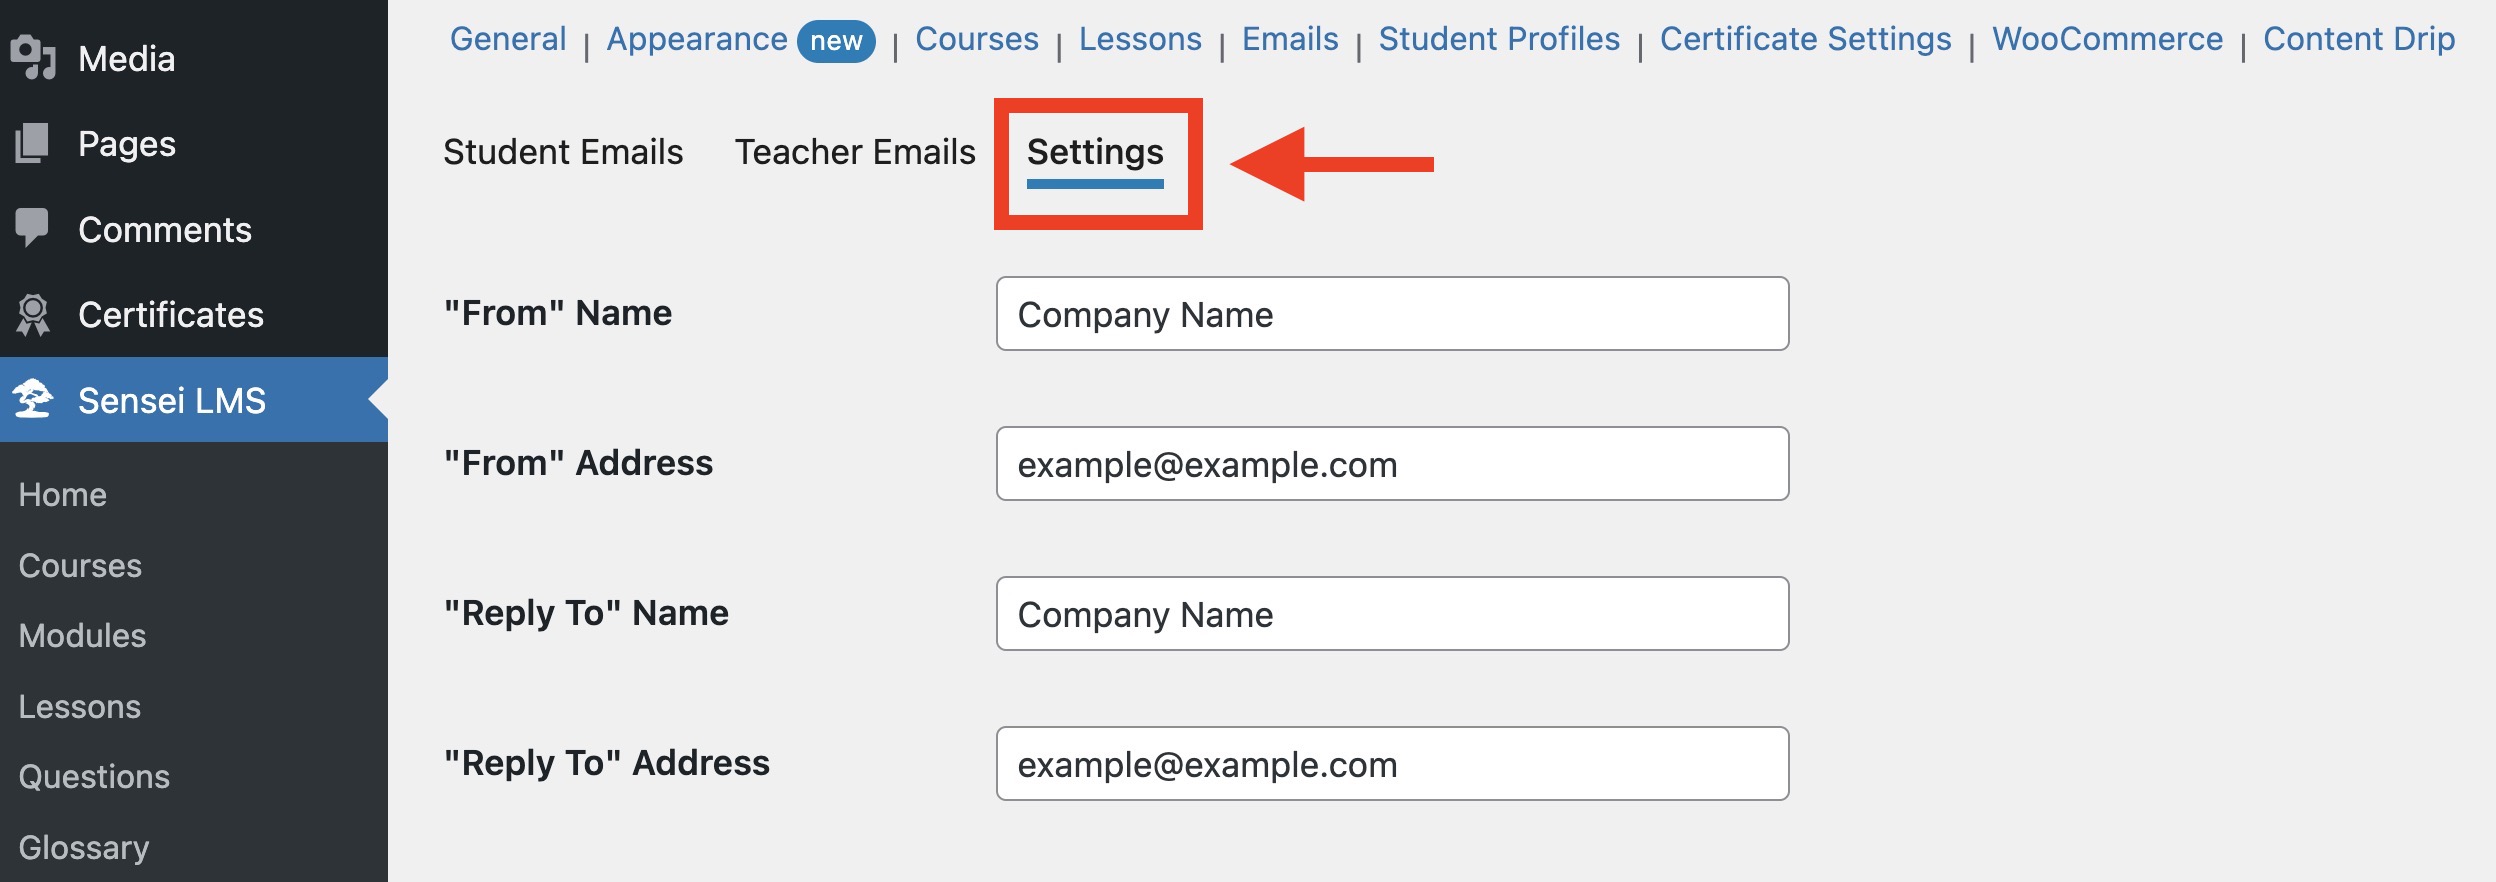
To configure the Email Notification system, navigate to Sensei LMS » Settings » Emails.

From this Sensei Emails page, you can enable or disable email notifications, customize email templates, configure email addresses from which you want to send and receive emails, integrate with popular email service providers, etc.
In the Emails option, you have three sub-options:
- Student Emails – This section contains email templates that your students will receive during the progress of the course.
- Teacher Emails – This section contains email templates that your teachers will receive during the progress of the course. Only teachers assigned to the course will receive these Emails.
- Settings – This section contains other general settings related to email notifications.
Activate and Deactivate Email Notifications
To deactivate any email notifications, you will need to disable the email template, which you can do by going to WP Admin » Sensei LMS » Settings » Emails » Student Emails/Teacher Emails.
Once you reach the Student Emails/Teacher Emails section, you can hover the mouse on any email template and click Disable option to disable the email template.
And similarly, if you want to enable any email template, you can click on Enable option.
You can also enable or disable two or more email templates together by selecting all the email templates you want to enable/disable and then clicking the Apply button.
Editing Email Templates
Editing email templates is made easy in Sensei LMS, and to edit any email templates for adding or removing content or redesign, you can just click on the Edit option and edit the template just like you edit pages or posts.

You can add images, edit text, change colors, add links, and much more as per your requirements and brand.
Globally Editing Email Template
To make changes globally for all email templates, you will need to go to WP Admin » Appearance » Editor » Templates » Sensei Email and click on the Edit icon to edit the template.
Alternatively, you can also edit the template globally by going to WP Admin » Sensei LMS » Settings » Emails » Click on the Edit option for any email template » then, on the editor, in the right sidebar, click on Sensei LMS in the Template section » then click on Edit template.

Please note: The visibility of the “Template” field in the email editor is limited to usage within full-site editing themes. If you are working with a different theme or framework that doesn’t support full-site editing, you may not have access to this specific feature.
Restore to Default for All Email Templates
To restore the designs and content of all email templates to the default one, you can go to WP Admin » Sensei LMS » Tools and, under Recreate Emails, click on Run Action.

Restore to Default for Single Email Template
If you want to restore the default design and content for a single email template, then you can restore the revision of your single email template by editing it like this:
Placeholders
In Sensei LMS, email placeholders are not universal, meaning that each email template has its own set of placeholders. However, many of these placeholders are consistent across different email templates.
You can check all placeholders separated for each Sensei email template on the email placeholders page.
Email Settings
You can customize the name and email address used in the emails under the Settings option.